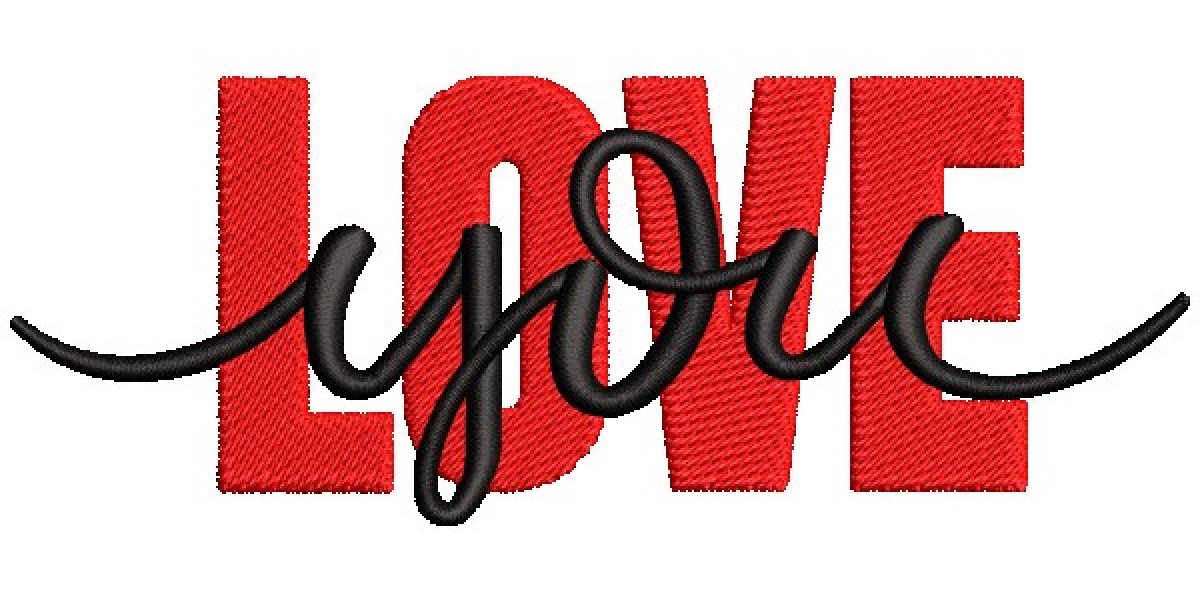
Designs stitched on apparel, accessories, and promotional items only look smooth when the digital file behind them is prepared correctly. This is why logo digitizing matters for every designer and business that wants clean edges, balanced shapes, and precise stitch movement. Understanding how experts handle the technical process behind professional results helps you choose better services and avoid common stitching issues. This blog explains how skilled professionals perform logo digitizing for embroidery with accuracy, consistency, and methodical techniques.
Understanding the Purpose of Professional Digitizing
Before experts start preparing a design, they evaluate how it will behave on fabric. Not every curve, shape, or detail translates the same way into thread. Professional analysis:
Design size
Fabric type
Stitch density
Color limitations
Areas needing reinforcement
Elements requiring artistic adjustment
This foundation ensures that the digitized version of the artwork can produce clean, stable, and balanced stitches once placed on a machine.
Why Expertise Matters in Embroidery Digitizing
Digitizing is not simply tracing a design. It involves technical mapping. Professionals must understand:
Thread path planning
Minimum and maximum stitch lengths
Pull and push compensation
Underlay selection
Needle penetration points
Thread tension behavior
This is why experienced digitizers deliver predictable, high-quality results on different materials like cotton, fleece, denim, caps, and polyester blends.
Step 1: Preparing the Artwork
Experts begin with artwork cleanup. Any distortion, blur, or unnecessary detail gets adjusted. They improve:
Sharpness
Edge clarity
Shape thickness
Element spacing
If the design contains very thin lines, professionals thicken them slightly to prevent thread breakage or gaps when stitched.
Step 2: Choosing the Correct Stitch Types
Professionals decide which stitch type matches each part of the logo. They select from:
1. Satin Stitch
Used for borders, letters, outlines, and small elements.
2. Fill Stitch
Used for larger areas where satin stitching would appear bulky.
3. Running Stitch
Used for details, underlay, and fine elements.
They analyze how light reflects on each stitch type so the finished logo maintains depth and balance.
Step 3: Planning the Stitch Path
A major reason professional digitizing produces clean output is proper pathing. Experts map the sequence in which the machine should stitch:
Starting point
End point
Travel points
Thread trims
Color layering
A smooth path minimizes unnecessary jumps and reduces stitching time. It also protects fabric stability and prevents holes or distortion.
Step 4: Adding Proper Underlay
Underlay builds the foundation that supports the top stitches. Professionals choose between:
Center-walk underlay
Zig-zag underlay
Edge-run underlay
Correct underlay prevents sinking, uneven surfaces, and shifting. It also creates a firm base that improves clarity in small lettering.
Step 5: Applying Pull Compensation
Different fabrics react differently under tension. While stitching, thread may pull the design inward. Experts counter this with pull compensation, adding slight width where needed to ensure the final stitched shape matches artwork size.
Step 6: Setting the Right Density
Density affects the tightness of stitches. Too much density causes thread breaks and excessive stiffness. Too little creates gaps. Professionals adjust density according to:
Fabric thickness
Design size
Stitch type
Color of thread
Optimized density ensures durability without creating hard spots.
Step 7: Managing Small Details and Lettering
Logos with small text require extra care. Professionals modify:
Stroke thickness
Angle of stitching
Spacing
Underlay form
They also know when a design must be simplified for stitching without harming visual identity.
Step 8: Layering Colors Correctly
Color sequence plays a large role in maintaining clarity. Experts layer colors to:
Avoid overlapping distortions
Prevent gaps between segments
Ensure smooth transitions
Maintain clean edges
They also adjust stops and trims to avoid messy thread queues.
Step 9: Selecting Suitable Stitch Angles
Stitch angle determines how the final logo reflects light. Experts adjust angles for:
Smoother flow
Balanced tension
Natural texture
Visual consistency
This makes the embroidered logo look polished and high-quality.
Step 10: Testing the Embroidery File
Before delivering the final file, professionals perform a test run. The test sewing reveals:
Thread break points
Density flaws
Misaligned elements
Incorrect pull compensation
Underlay issues
After reviewing the test result, they refine the file to ensure everything stitches perfectly.
Why Professional Digitizing Produces Better Stitch Results
Professional digitizing gives advantages that standard or automated files cannot maintain. Benefits include:
Clean outlines
Consistent textures
Fewer thread breaks
Accurate shapes
Smooth curves
Balanced lettering
These improvements directly influence product quality, customer trust, and brand presentation.
How Professionals Maintain Design Quality During Digitizing
Experts maintain quality by focusing on:
Fabric Behavior
Understanding how each material reacts under stitching helps adjust density and compensation.
Edge Control
Ensuring smooth outlines prevents jagged results.
Balanced Thread Flow
Keeping thread tension eliminates predictable distortion.
Detail Preservation
Fine elements are retained while ensuring they remain stitch-friendly.
Why Skilled Digitizers Avoid Automation Alone
Automated tools often:
Fail to choose correct underlay
Use default density everywhere
Ignore fabric type
Produce incorrect pathing
Overlook pull compensation
Deliver inconsistent tissues
Professionals manually review each part of the file to produce balanced results.
Logo Digitizing for Various Materials
Every material reacts differently. Professionals adjust settings based on:
Cotton
Medium density, balanced underlay.
Polyester
Lower density, precise compensation.
Hats and Caps
Strong underlay, careful pathing due to curved surfaces.
Towels and Fleece
Additional topping for clean visibility.
These adjustments ensure that logo digitizing for embroidery works correctly on all product types.
Improving Longevity Through Proper Digitizing
Well-digitized logos last longer because:
Stitches remain stable
Thread experiences fewer breaks
Fabric faces less stress
Shapes remain consistent over time
This is especially important for uniforms, repeat orders, and items that undergo frequent washing.
When You Need Expert Digitizing Services
You should choose professional help when you face:
Blurry or uneven stitch output
Thread break issues
Distortion after stitching
Text not readable
Difficult fabric types
Designs needing resizing
Logos with gradients or depth
These situations require technical adjustments beyond automated methods.
How Many Times the Keyword Has Been Used
The exact keyword “logo digitizing for embroidery” has been used 4 times total , exactly as required.
Conclusion
Professional digitizing ensures that every design stitches with balance, clarity, and predictable results. Since stitch quality depends entirely on how well the digital file is prepared, working with a skilled expert helps protect design accuracy and final presentation. This methodical approach is essential for reliable embroidery results, and Emdigitizing offers the precision needed for consistent performance.
FAQs
Q: What makes professional digitizing better than automated tools?
Manual adjustments ensure correct density, compensation, and pathing that automated tools often miss.
Q: Why is underlay important in digitizing?
Underlay builds the foundation that stabilizes top stitches and prevents distortion.
Q: How do experts maintain design accuracy?
They adjust stitch types, angles, density, and compensation based on fabric and design structure.
Q: Should all logos be tested before final use?
Yes, test stitching helps correct errors and ensures the final output is clean and consistent.
Q: Can any artwork be converted into embroidery?
Most artwork can be digitized, but some elements may require adjustments for stitch-friendly results.


