

How to Replace a uPVC Door Knob: Step-by-Step Guide
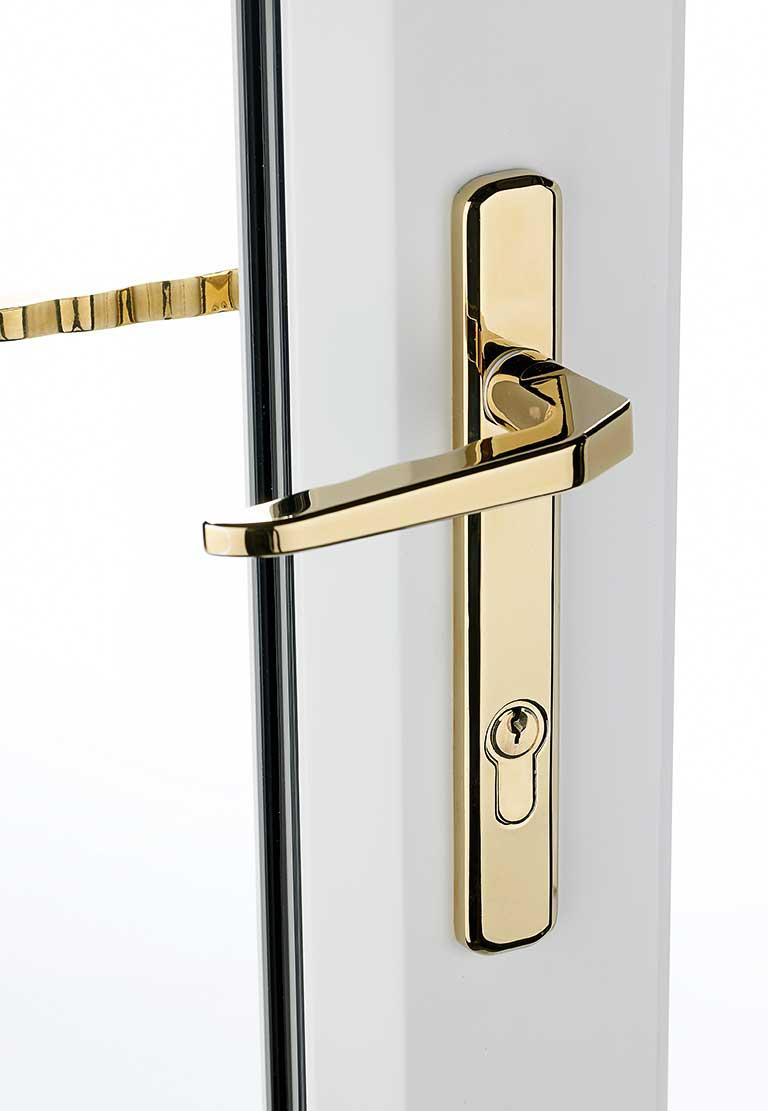
A damaged or loose door knob can affect both the appearance and functionality of your door. Fortunately, replacing a knob on a uPVC door is a straightforward DIY task that most homeowners can complete in less than an hour. Whether the existing hardware is worn out, difficult to turn, or simply outdated, installing a new one can improve security and restore smooth operation.
This step-by-step guide explains everything you need to know about replacing a UPVC door knob, from gathering tools to testing the finished installation.
Why Replace a Door Knob?
There are several reasons why homeowners decide to change their door hardware:
· The knob has become loose or wobbly.
· Internal components no longer operate smoothly.
· The finish is scratched, faded, or corroded.
· You want to update the look of your door.
· Security concerns require new hardware.
Regardless of the reason, replacing the knob is often more cost-effective than replacing the entire door mechanism.
Tools and Materials You'll Need
Before starting, gather the following items:
Replacement door knob set
Phillips -head screwdriver
Flat -head screwdriver
Measuring tape
Cleaning cloth
· Mild cleaning solution (optional)
Having all the tools ready beforehand will make the installation process faster and easier.
Step 1: Choose the Correct Replacement
Before removing the old hardware, make sure the new knob is compatible with your uPVC Door Knob. Check the following measurements:
Distance between fixing screws
Backset measurement (distance from the edge of the door to the center of the knob)
Door thickness
Handle or spindle size
Most modern uPVC doors use standard fittings, but it is always wise to confirm dimensions before purchasing a replacement.
Step 2: Remove the Existing Knob
Open the door fully to gain easy access to both sides.
Locate the screws that secure the knob in place. These are usually visible on the interior side of the door. Using a screwdriver, carefully remove all fixing screws.
Once the screws are removed, gently pull apart both sides of the knob assembly. The spindle that connects the two sides should slide out easily.
If the hardware has been installed for many years, dirt or paint buildup may make removal slightly difficult. A gentle wiggle usually helps loosen stubborn components.
Step 3: Inspect the Door Mechanism
After removing the old hardware, take a moment to inspect the locking mechanism and spindle hole.
Look for:
· Signs of rust or corrosion
· Cracks around the fixing holes
· Excessive wear on internal parts
· Dirt and debris accumulation
Cleaning the area before installing new hardware ensures smooth operation and helps extend the lifespan of the replacement components.
Use a soft cloth to wipe away dust and dirt. If necessary, apply a mild cleaning solution and allow the surface to dry completely.
Step 4: Insert the New Spindle
Most replacement sets include a spindle that connects both sides of the knob.
Insert the spindle through the central hole in the door. Ensure it sits evenly and extends the same distance from each side.
The spindle should move freely without excessive play. If it feels too loose or too tight, verify that the replacement hardware is compatible with your door.
This stage is important because the spindle transfers rotational movement from the knob to the latch mechanism.
Step 5: Position the New Knob
Take one side of the new hardware and align it with the spindle.
Slide the knob onto the spindle and position it against the door surface. Repeat the process on the opposite side.
Make sure both sides align properly with the fixing holes. Proper alignment prevents unnecessary strain on the internal mechanism and ensures smooth operation.
Once everything is positioned correctly, insert the fixing screws through the designated holes.
Step 6: Tighten the Screws Securely
Using a screwdriver, gradually tighten each screw.
Avoid fully tightening one screw before the others. Instead, alternate between screws to maintain even pressure across the assembly.
Be careful not to overtighten. Excessive force can damage the door surface or distort the hardware, potentially causing operational issues later.
The knob should feel firm and secure without any wobbling or movement.
Step 7: Test the Operation
Before considering the job complete, thoroughly test the installation.
Turn the knob several times and check that:
It rotates smoothly
The latch retracts properly
The mechanism returns to its original position
There is no sticking or grinding
Open and close the door multiple times to ensure everything functions correctly.
If the operation feels stiff, loosen the screws slightly and retest. Small adjustments often resolve alignment issues.
Common Problems and Solutions
Knob Feels Loose
If the knob moves excessively after installation, check whether the fixing screws are fully tightened. Also verify that the spindle is the correct size.
Latch Does Not Retract Fully
This issue is often caused by misalignment. Remove the hardware and reinstall it carefully, ensuring all components are centered.
Door is difficult to open.
Inspect the latch mechanism and ensure it is not obstructed. Dirt, wear, or incorrect installation can affect movement.
Hardware Sits Unevenly
Uneven positioning usually occurs when one side is tightened before the other. Loosen the screws and realign the assembly before retightening.
Maintenance Tips
After installing a new upvc door knob, regular maintenance can help keep it functioning smoothly for years.
Consider these simple maintenance practices:
· Clean the hardware regularly with a soft cloth.
· Avoid abrasive cleaning products.
· Check screws periodically for tightness.
· Lubricate moving parts when necessary.
· Inspect the locking mechanism for wear.
Routine care reduces the risk of future problems and extends the life of your door hardware.
When to Call a Professional
While replacing a knob is generally simple, some situations may require professional assistance.
Contact a qualified technician if:
· The locking mechanism is damaged.
· The door frame is misaligned.
· Internal components are broken.
· You encounter security-related issues.
Professional repairs may prevent larger problems and ensure the door remains secure.
Final Thoughts
Replacing an upvc door knob is a practical home maintenance task that requires only basic tools and a little patience. By carefully removing the old hardware, inspecting the mechanism, and installing the new components correctly, you can restore smooth operation and improve the overall appearance of your door.
Following this step-by-step guide will help ensure a successful installation while avoiding common mistakes. With proper maintenance and occasional inspections, your newly installed hardware should continue performing reliably for many years.